16 Outdoor Jacuzzi Ideas That Feel Calm, Cozy and Expensively Relaxing
A hot tub dropped onto a bare patio slab looks like an appliance. The same tub surrounded by warm wood, screened on one side and lit low, looks like something from a hotel you saved up to visit. That gap is almost entirely about the setting rather than the tub itself, which is good news for anyone working with a budget. These outdoor jacuzzi ideas are about that surround: privacy, warmth, light, and the small logistics that decide whether you use it twice a week or twice a summer. The thing I got wrong at first was the walk out. Ours sat forty feet from the back door across cold gravel, and on chilly nights that walk talked me out of it more often than I want to admit. Fix the approach and you fix the habit, which is most of the battle.
1. Sink the Tub Into a Deck So It Looks Built In
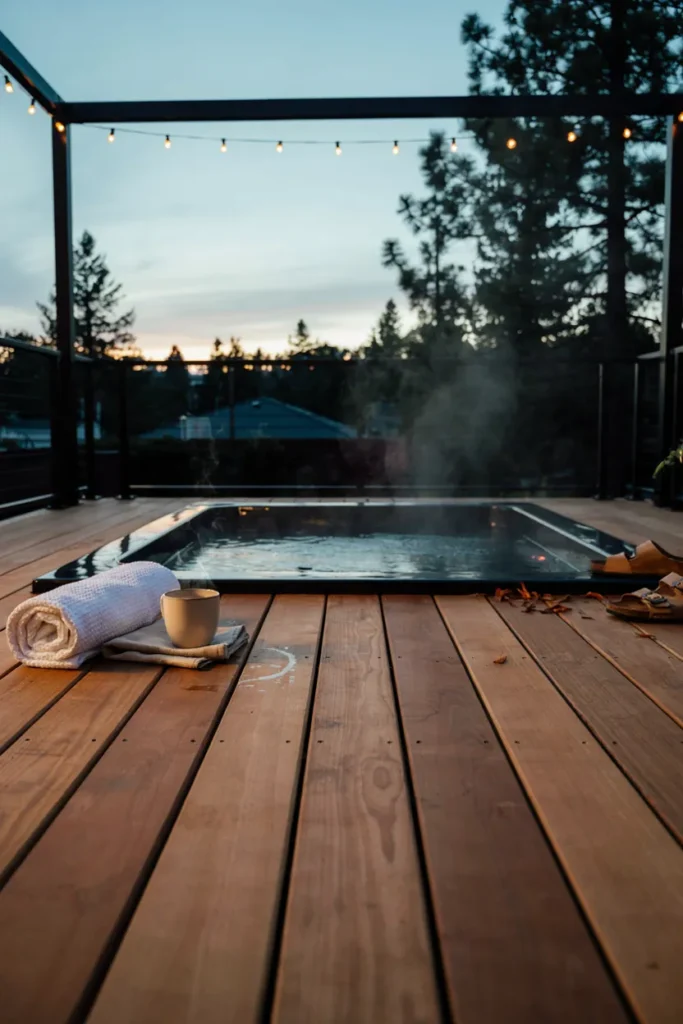
Nothing changes the look of a hot tub as much as losing the visible cabinet. A tub sunk into decking reads as part of the architecture rather than a large plastic object parked outside, and stepping down into water at deck level feels far more like a spa than climbing over a rim. It is the single biggest visual upgrade available to most gardens.
You do not need to dig. Building the deck up around the tub achieves the same flush look and keeps every service panel reachable, which matters enormously when a pump needs attention. Leave removable deck sections on all sides. Cedar and thermally modified pine both handle constant moisture well. Confirm the base can carry the load, since a filled tub with people in it is extremely heavy.
2. Screen the One Sightline That Actually Bothers You
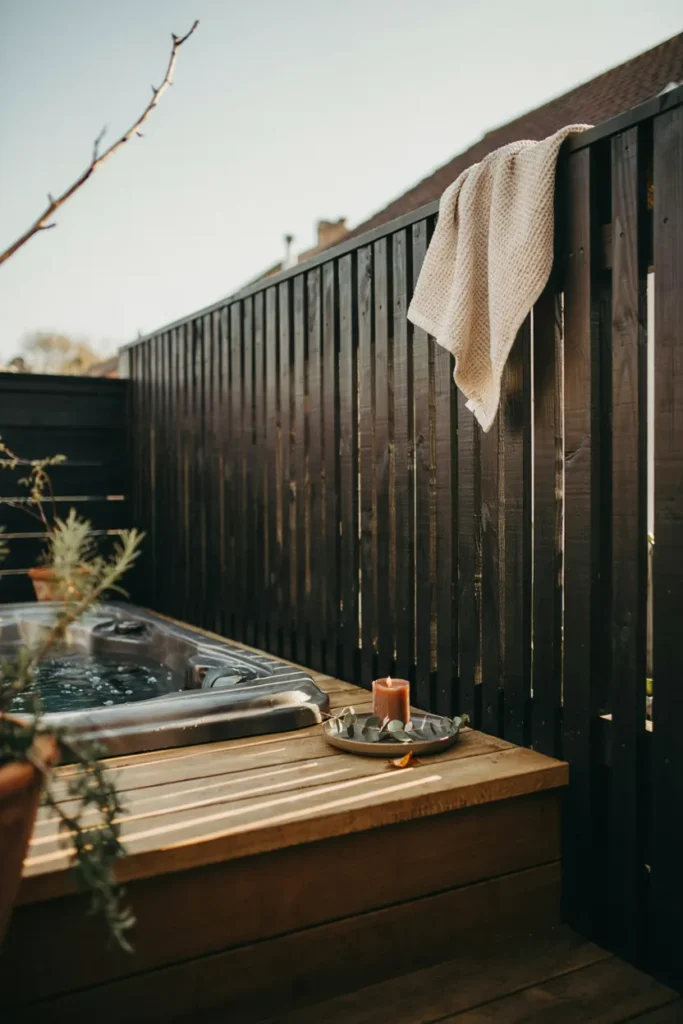
Most people use a hot tub far less than they expected because they feel watched. You do not need to enclose the whole thing, which would make it feel like a shed. Blocking the single worst sightline, usually a neighbor’s upstairs window, changes how the space feels entirely. Privacy is the difference between relaxing and being quietly aware of yourself the whole time.
Sit in the tub and look around before building anything, because the sightline that matters is rarely the one you assume from the kitchen window. A screen six to seven feet tall handles most situations. Horizontal slats with small gaps let air move and look lighter than solid panels. Set posts in concrete, since screens catch wind, and check local rules on structure heights near boundaries first.
3. Light the Path So the Walk Out Feels Like Part of It
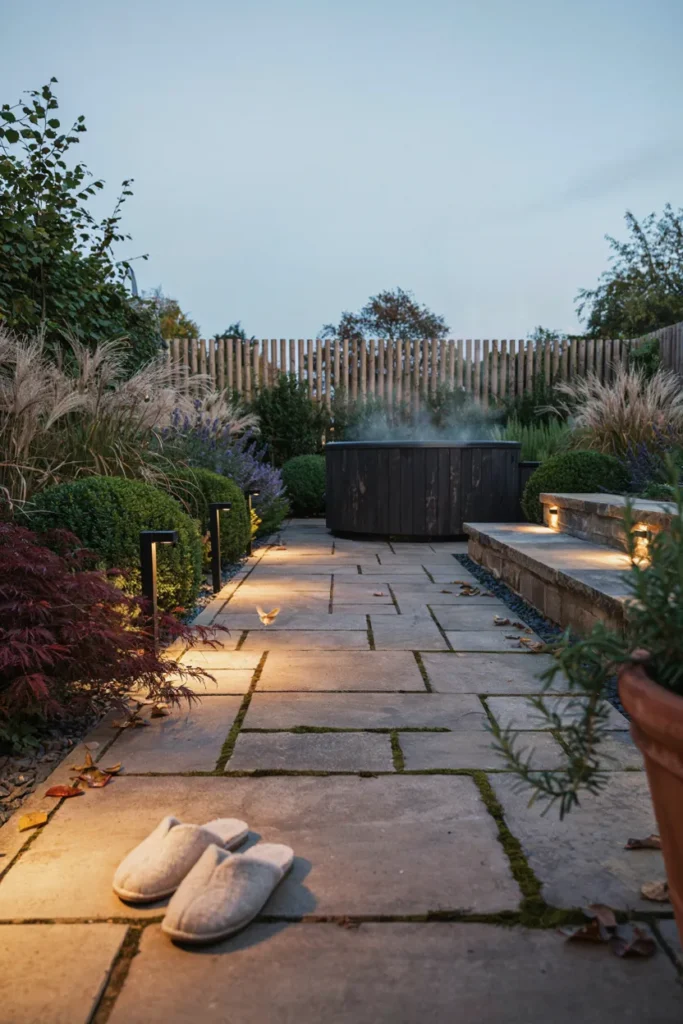
The walk between the back door and the water decides how often you go. If it is dark, cold, and uneven, you will talk yourself out of it on exactly the nights a hot tub is most appealing. Lighting the route properly turns that walk from an obstacle into the beginning of the experience, which has a bigger effect on use than almost anything else.
Keep light sources low and warm, at knee height or below, so nothing shines into your eyes on the way back. Solar bollards work in most gardens and need no wiring at all. Add step lights anywhere the level changes, since wet feet and steps are a genuine hazard. Textured pavers or timber decking underfoot stay far safer than smooth stone when everything is wet.
4. Surround the Tub With Warm Wood Instead of Bare Concrete
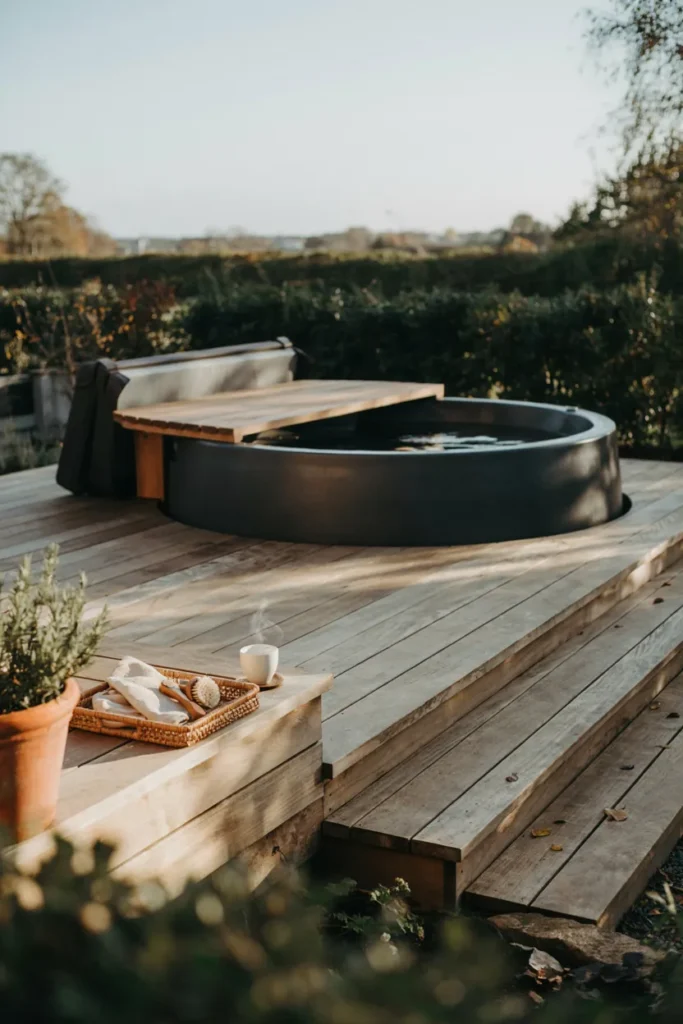
Concrete around a hot tub is cold underfoot, glares in daylight, and reads as utility rather than retreat. Wood does the opposite on every count. It stays warmer on bare feet, it ages into something better looking rather than worse, and it softens the whole scene. If you change one material in the setup, change the one your feet actually touch.
A surround platform two to three feet wide gives room to sit on the edge and to set things down. Use grooved or lightly textured boards for grip when wet. Cedar, teak, and thermally modified timber all resist rot without heavy chemical treatment. Leave gaps between boards for drainage, and reseal annually, since standing water and splash-out are constant in this spot.
5. Plant for Privacy That Improves Every Year
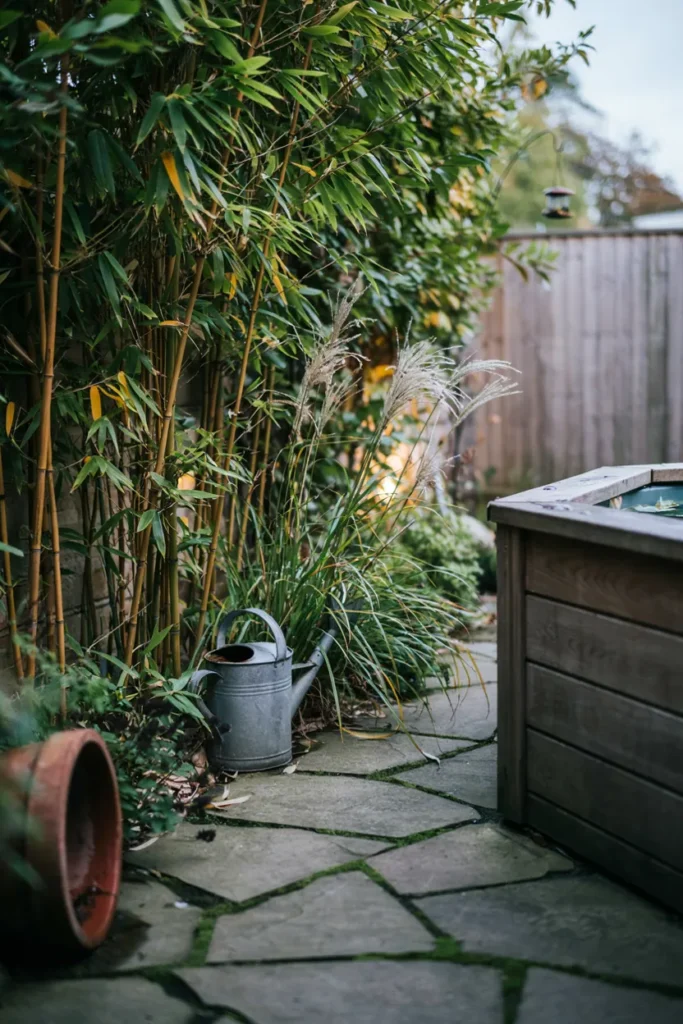
Planting is the only privacy solution that gets better with time, and it does something a fence cannot. It moves and makes sound. Leaves rustling nearby cover conversation and traffic noise surprisingly well. Greenery also stops the tub from looking like equipment, blurring the hard edge where a manufactured object meets the rest of the garden.
Choose evergreens if you use the tub in winter, since a deciduous screen disappears exactly when you want it most. Clumping bamboo, arborvitae, and tall grasses all establish quickly. Plant at least three feet back from the water so leaf litter does not end up in the filter, and avoid anything dropping heavy fruit or resin. Container planting keeps roots away from decking and pipework.
6. Add Somewhere to Sit That Is Not the Water
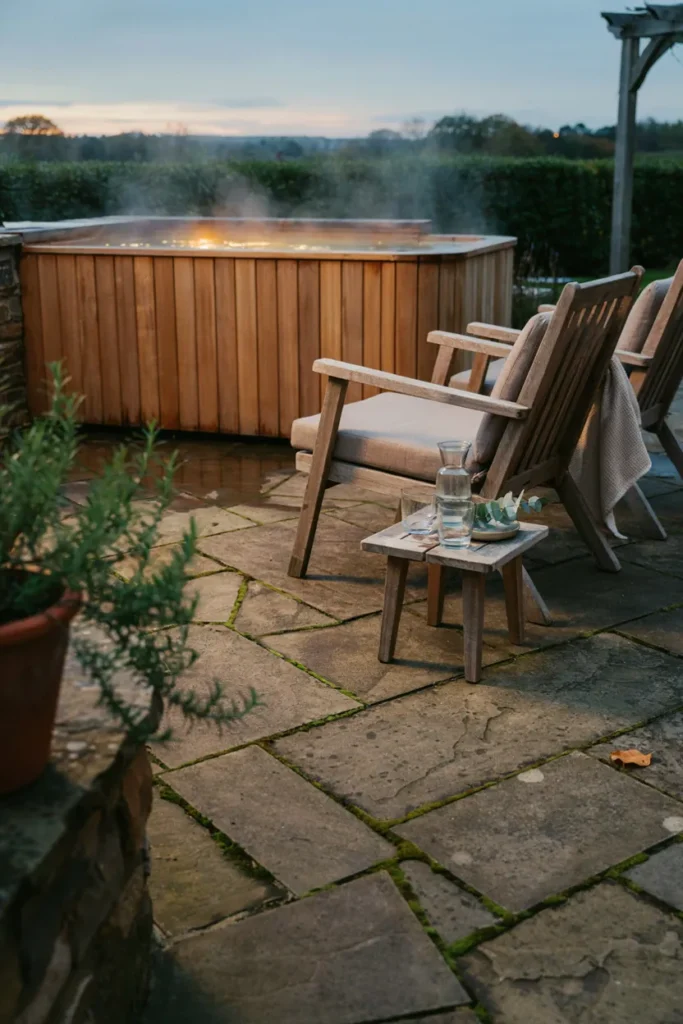
Nobody stays in hot water for two hours straight. You get out, cool off, and get back in, and if there is nowhere to sit during that middle part, everyone drifts inside and the evening ends early. Seating beside the tub is what turns a quick soak into a proper evening outdoors, and it makes the area usable when the tub is covered.
Two chairs is usually enough, placed close enough to talk to someone still in the water. Choose quick-drying cushions in solution-dyed fabric, since everything here gets wet. Low slung seating suits the setting better than upright dining chairs. Keep a small side table for drinks, and use unbreakable glassware, which is standard practice and often a rule for insured installations.
7. Keep Towels Warm and Genuinely Within Reach
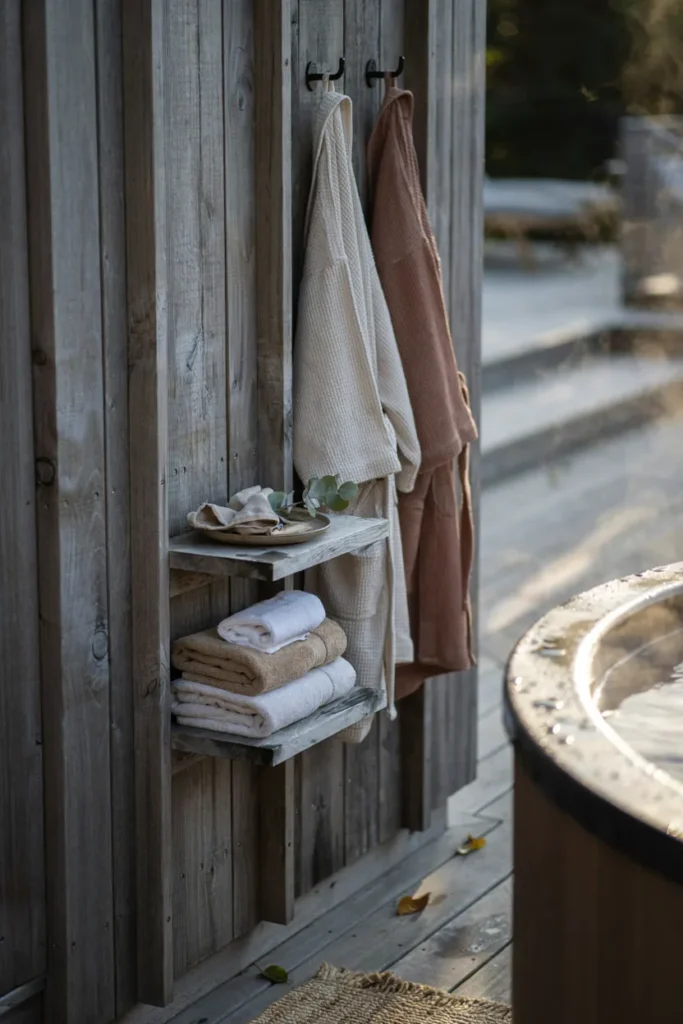
The worst thirty seconds of any hot tub session is the moment you get out. If the towel is inside the house or draped over a cold railing, that moment is genuinely unpleasant and you will remember it next time you consider going out. Solving it properly is a small investment that changes how the whole thing feels.
A weatherproof storage box or a small cabinet keeps towels dry and dust free right where you need them. Hooks under a covered section work for robes. Outdoor towel warmers exist and are lovely, though a simple insulated box beside a heater achieves much of the same on a cold night. Keep a dedicated set of tub towels so you never raid the bathroom.
8. Build Something Overhead for the Rain and the Stars
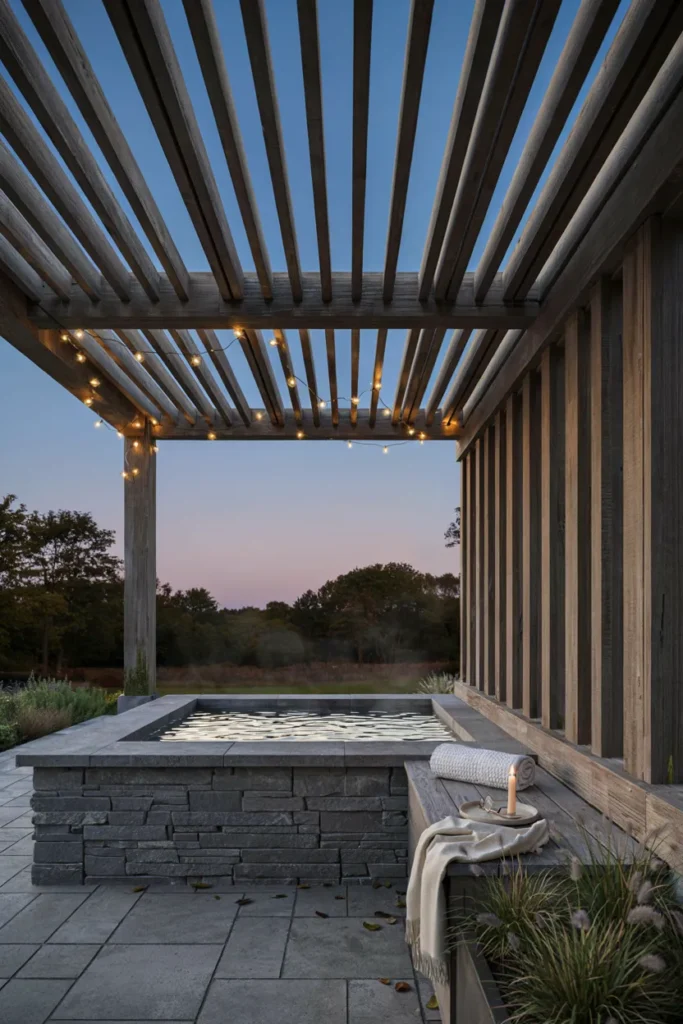
Something overhead does two useful things at once. It makes the tub usable in light rain and snow, which is when soaking is at its best, and it gives the space a ceiling so it feels like an outdoor room rather than an object in a yard. A partial roof is usually better than a full one, because the open sky is half the appeal.
A pergola with slats covering roughly half the span gives shelter without sealing off the view. Leave the side facing your best sky open. Keep any solid roofing high enough that steam disperses, since trapped moisture rots timber quickly. Check clearances around electrical connections, and never run a solid enclosure without ventilation, as chlorine vapor concentrates in still air.
9. Keep the Lighting Low and Warm, Never Overhead
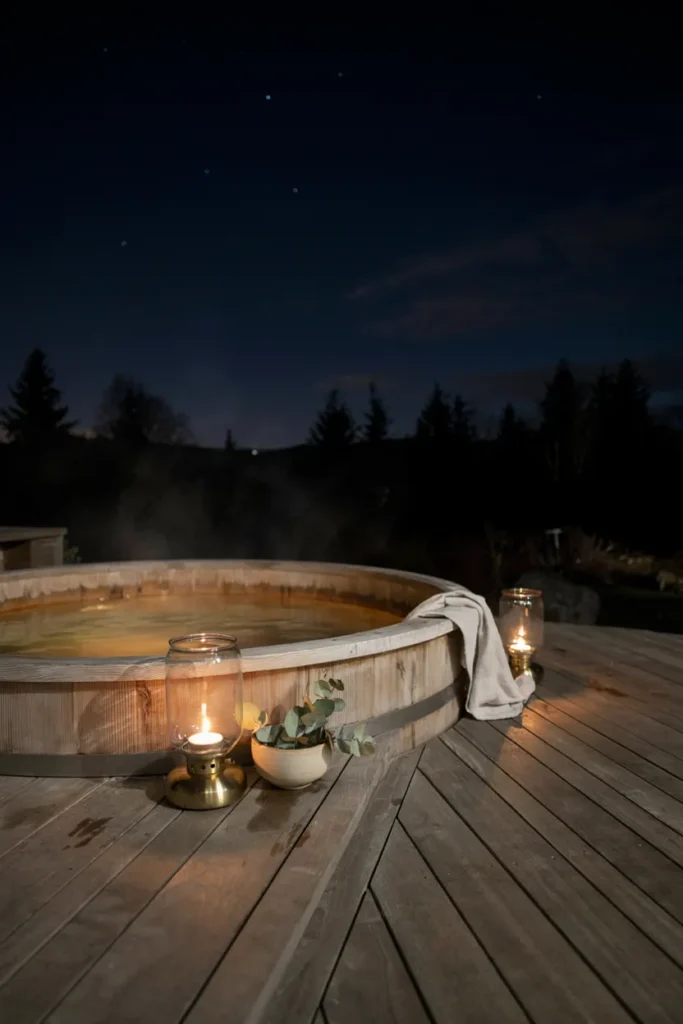
A bright floodlight above a hot tub ruins it instantly. You end up sitting in a spotlight, unable to see the garden or the sky, which is most of the reason to be outside at night. Low, warm light from a few small sources does the opposite. It gives you enough to move safely while leaving the space dark enough to feel private.
Keep everything below eye level when seated in the water. Lanterns, deck lights, and warm strip lighting under the surround all work well. Choose bulbs around 2200 to 2700K, since cool white light feels clinical outdoors. Use a separate switch from any security lighting, and add a dimmer if the system allows it, which lets one setup handle both evenings and clean-up.
10. Give the Cover Its Own Home
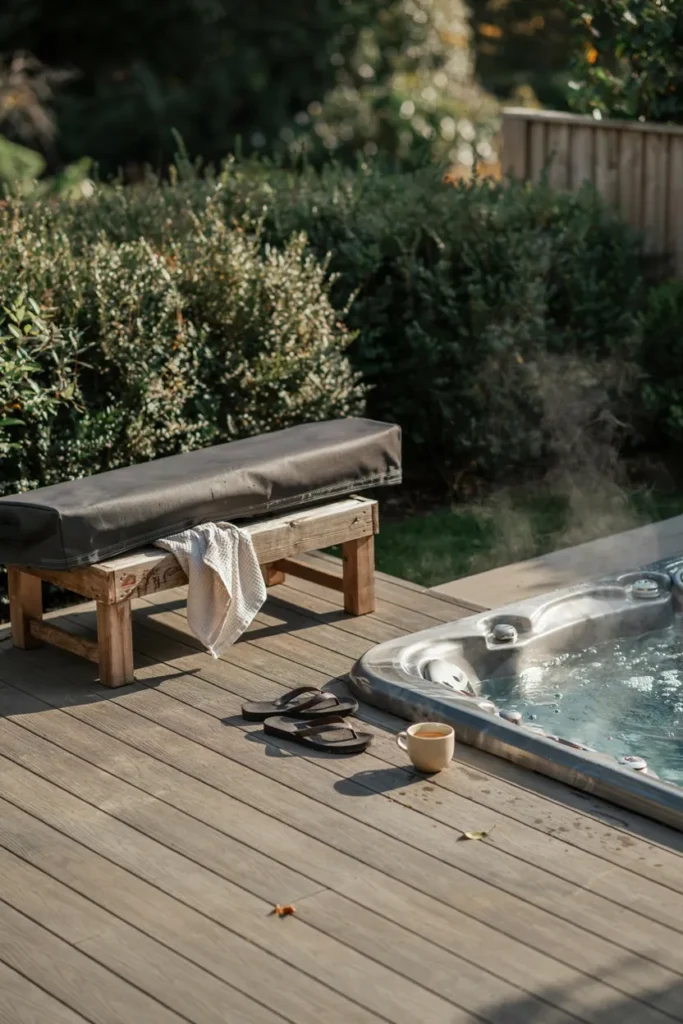
The cover is the least attractive part of any hot tub setup and the part nobody plans for. Left leaning against a fence it dominates the view, collects dirt on the side that touches the water, and makes the whole area look untidy. Solving where it goes is unglamorous but it affects how the space looks every single time you use it.
A cover lifter mounted to the tub is the tidiest answer and saves your back, since covers are heavy and awkward. A simple timber rack beside the tub works as a cheaper alternative and keeps the underside off the ground. Whichever you choose, position it away from your main view. Replace worn covers promptly, because a waterlogged one costs a fortune in lost heat.
11. Add a Cold Rinse Beside the Warm Water
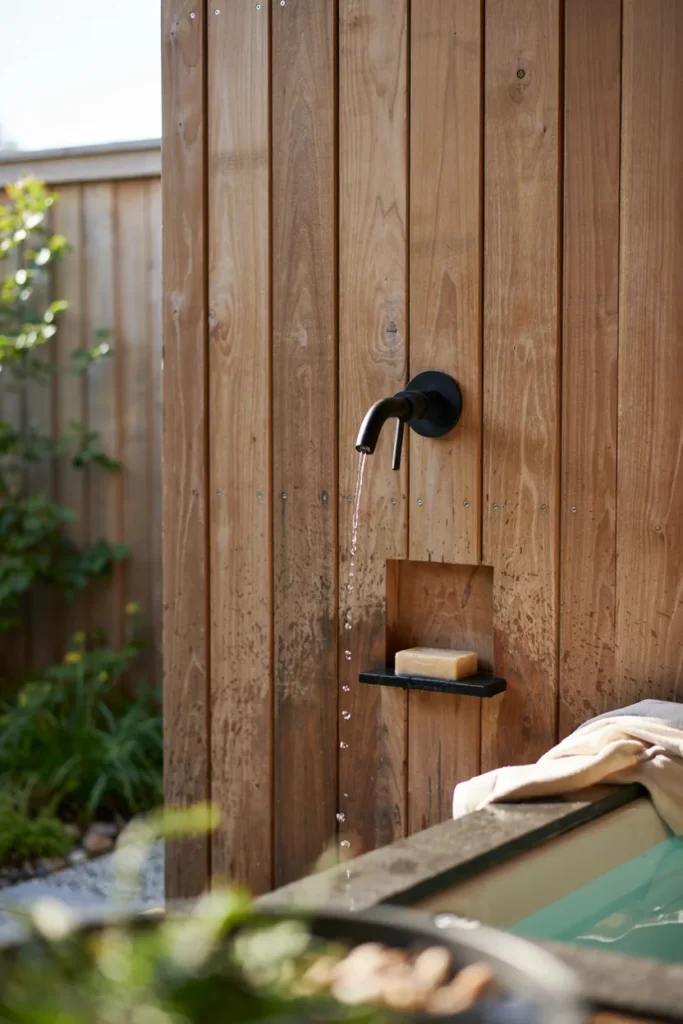
An outdoor shower beside a hot tub is the detail that pushes the whole setup from pleasant to genuinely luxurious. Rinsing before you get in keeps the water clean and your chemical use lower, and rinsing after gets the chlorine off your skin without traipsing through the house wet. The hot and cold contrast is also simply wonderful.
A cold-only outdoor shower is far cheaper and simpler to install than a mixed one, and most people use it for rinsing rather than washing anyway. Position it on the tub side of any privacy screen. Drainage matters more than the fixture, so run it over gravel or a proper drain. In freezing climates, fit an isolating valve so the line can be drained each autumn.
12. Face the Tub Toward the Best Thing You Own
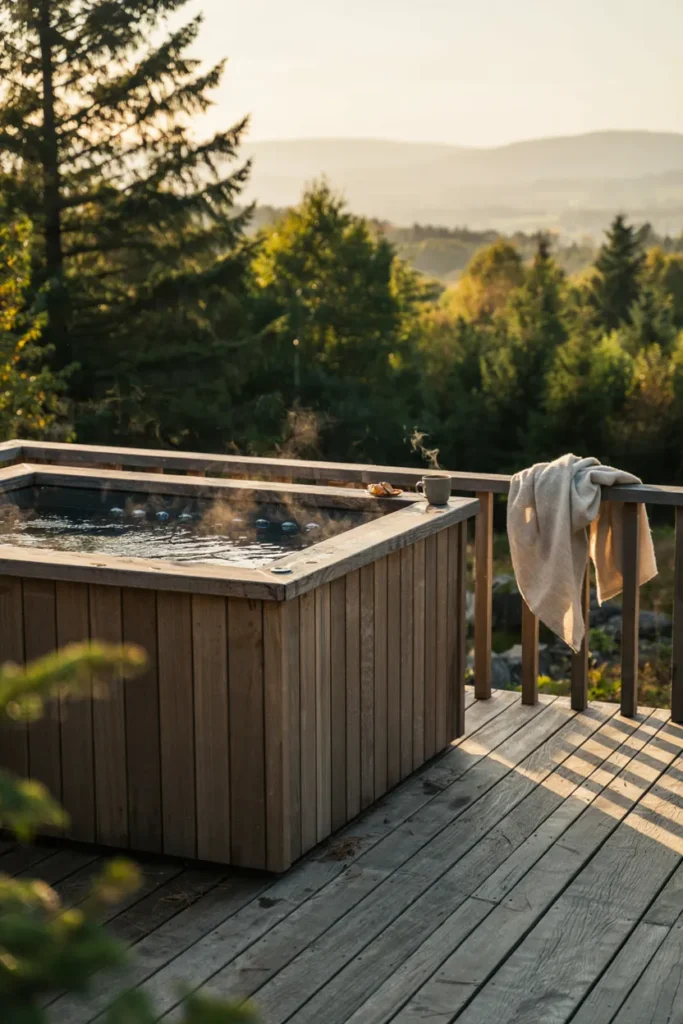
Hot tubs get installed where the plumbing is convenient, which is almost never where the view is best. Since you will spend most of your time sitting in one position looking in one direction, it is worth deciding what you want to look at before anything is bolted down. Even in a small garden there is usually one direction that is better than the rest.
Sit in the space at the time of day you expect to use it and look around properly. Orient the lounger seat, the one you will always claim, toward the best outlook. If there is no view, make one: a well lit tree, a piece of garden sculpture, or a planted bed reads beautifully at night. Screen the direction you do not want to see.
13. Extend the Season With Heat You Can Feel Outside the Water
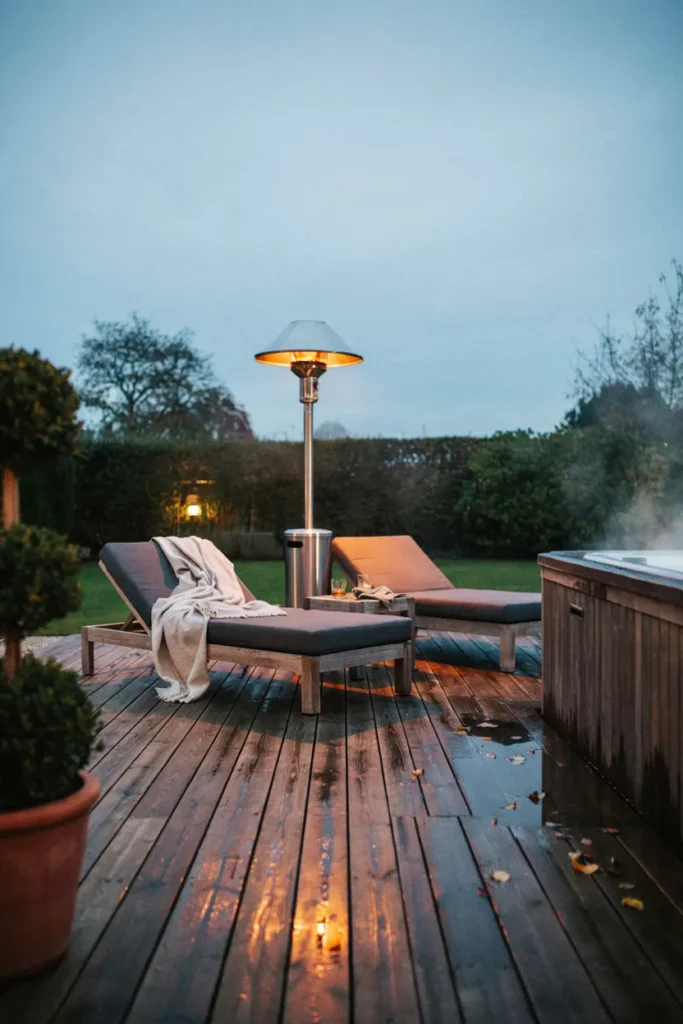
The water is warm, but everything around it is not, and that is what limits use in cold months. A heat source beside the tub means the moments out of the water are bearable, which extends your season by months rather than weeks. This is the difference between a summer purchase and something you use in February when it is arguably at its best.
Infrared and radiant heaters warm objects rather than air, which works far better outdoors than convection models. Mount one under a pergola or wall bracket rather than freestanding, since it stays out of the way. Keep any heater well clear of the tub itself and of overhanging fabric. A fire bowl a few feet away gives similar warmth and much better atmosphere.
14. Add Sound That Covers the Rest of the World
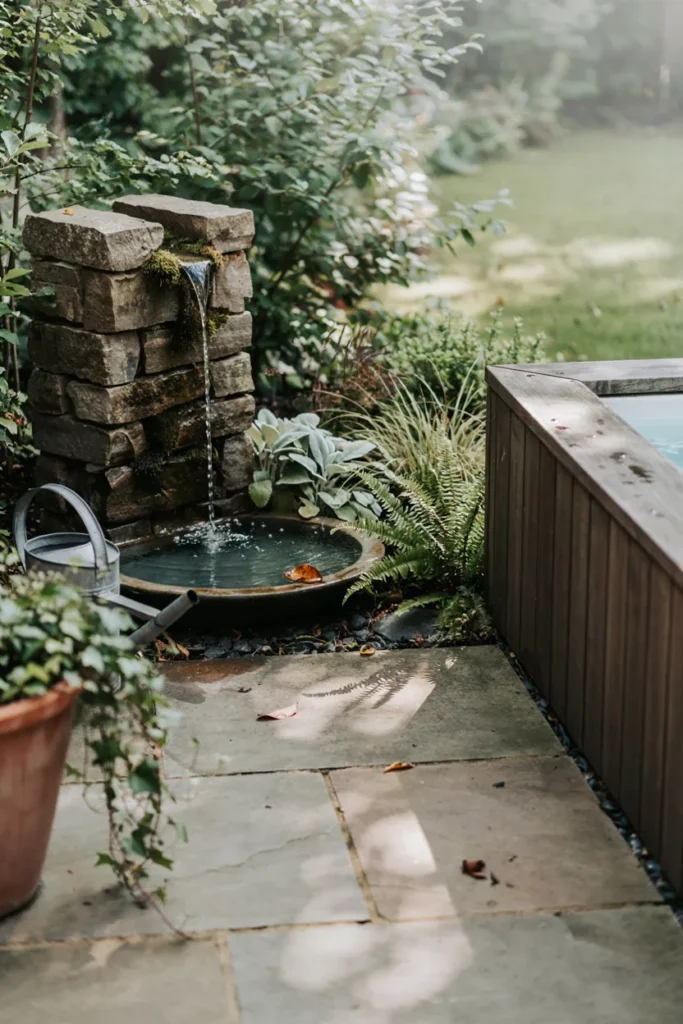
Gardens are rarely as quiet as we imagine. Traffic, neighbors, and air conditioning units all carry, and the moment you sit still in warm water you notice every one of them. Adding a gentle sound of your own masks the rest surprisingly effectively. It is the least obvious idea here and often the one that makes the biggest difference to how relaxed the space feels.
A small recirculating water feature is the most reliable option and needs only a power outlet. Rustling plants such as bamboo and grasses do a similar job for free. Weatherproof speakers work if you prefer music, though keep the volume low enough that it does not become the neighbors’ problem instead. Position any sound source between you and the noise you want covered.
15. Store the Chemistry Kit Where You Will Actually Use It
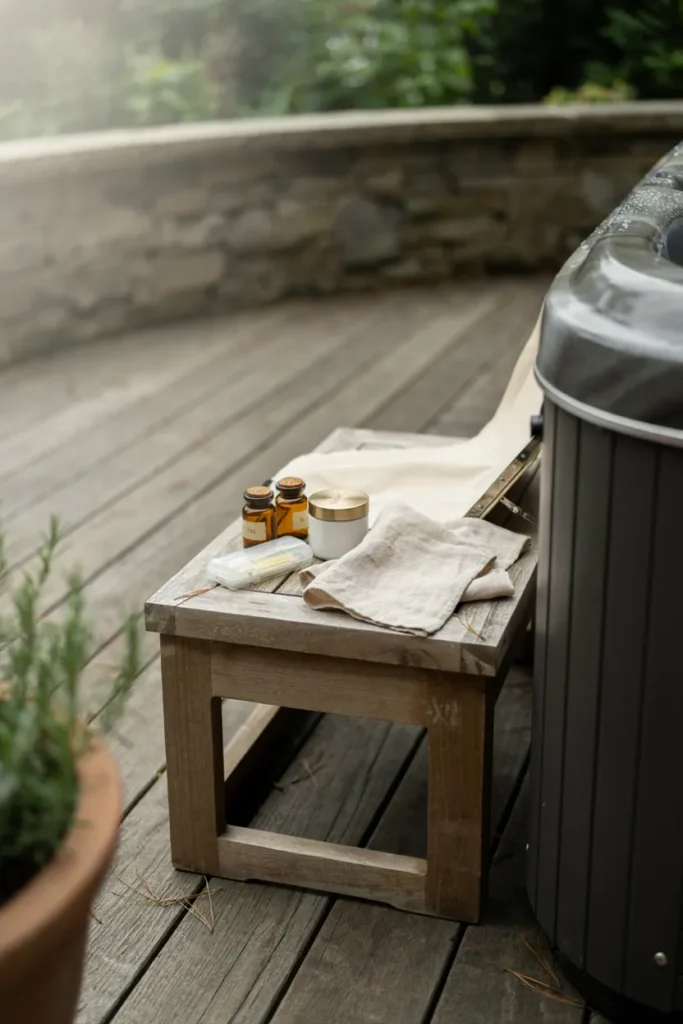
Water care is the thing that quietly decides whether a hot tub stays a pleasure or becomes a chore you resent. If the testing kit lives in a garage two minutes away, testing will not happen weekly, and once the water goes wrong the whole setup sits unused. Keeping supplies at the tub is a genuinely practical design decision.
A lockable weatherproof bench doubles as seating and storage, which suits small spaces. Keep chemicals in their original sealed containers, out of direct sun and safely away from children and pets. Test strips and a small notebook right at the tub make weekly checks take under a minute. Never store chemicals inside the tub cabinet itself, where heat and moisture degrade them fast.
16. Design the Winter Version Before Winter Arrives
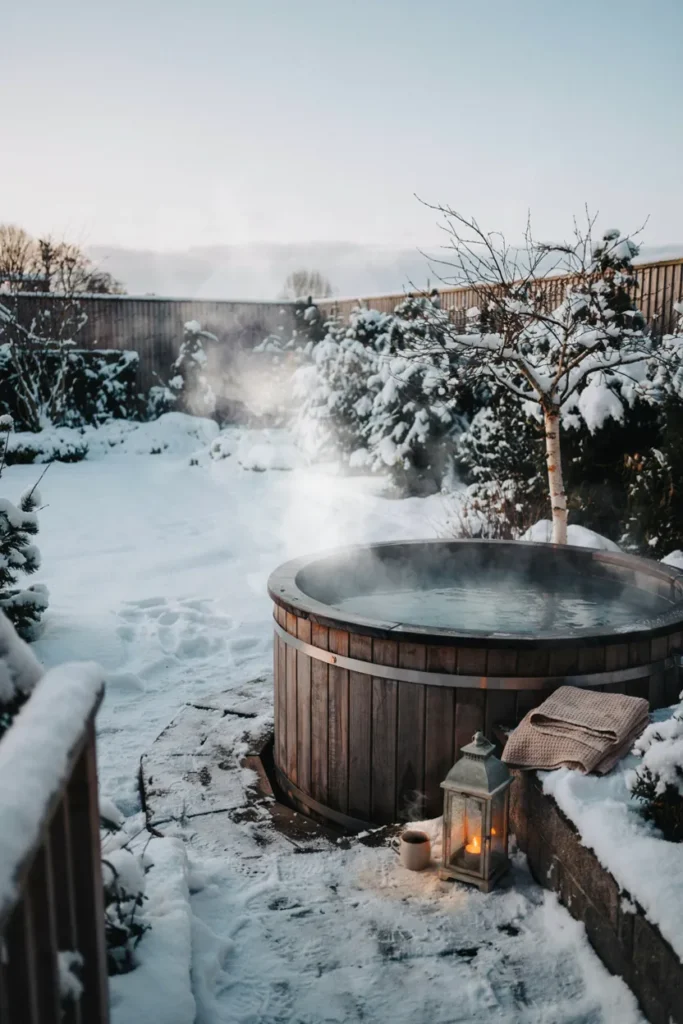
Winter is when a hot tub earns its cost, and it is also when most sit unused because nobody planned for it. Snow on the steps, a frozen cover, and no dry place for a towel are all solvable problems, but only if you think about them in September. Get it right and a cold clear night in the water is the best thing your garden offers.
Keep a broom and a bag of pet-safe ice melt by the door for the approach. Run the tub slightly hotter and keep the cover properly sealed to control heating costs. Make sure at least one towel spot stays covered and dry. If you plan to close the tub instead, drain it fully and blow out the lines, since freezing water cracks pipework expensively.
Bringing It All Together
The outdoor jacuzzi ideas worth your money are rarely about the tub. They are about everything within ten feet of it: the wood underfoot, the screen that blocks one window, the lantern that lets you find the steps, the towel that is dry when you get out. Those things decide whether the tub becomes part of your week or an expensive cover you look at from the kitchen. Start with the walk out and the privacy, because those two determine whether you go at all, then work on the surround and the lighting once you know how you use the space. Winter planning can wait until autumn, but do not skip it, since the cold months are when soaking outdoors is genuinely at its best. Build it up slowly and let each change earn its place. If any of these gave you a plan for your own garden, save them to your Pinterest boards so they are waiting when the work starts.